I took Nyran Moodie’s course on Test Automation University: Automated Visual Testing with WebdriverIO. If you want the explicit link to the course, here it is: https://testautomationu.applitools.com/automated-visual-testing-javascript-webdriverio/index.html
Course Introduction
If you use WebdriverIO regularly, and you are unfamiliar with the basics of using Applitools for automated visual testing, you will appreciate this course. Nyran focuses you on how to add visual test automation with Applitools to your WebdriverIO tests.
Nyran expects you to know WebdriverIO. If you want to learn WebdriverIO, check out Julia Pottinger’s excellent course – UI Automation with WebdriverIO on Test Automation University.
Nyran uses JavaScript for his examples and Visual Studio Code as his IDE. In case you didn’t know, you can use Applitools with a range of test languages. No matter what your test language of choice or IDE, I think you will find Nyran’s code and coding approach fairly intuitive.
Course Structure
Nyran breaks the course into eight main chapters. He gives this description in the course overview:
- 1 – I am going to start by giving you an introduction to visual testing.
- 2 – We are going to look at how we can get our environment set up to start using Applitools eyes.
- 3 – We are going to create and run our first visual test using Applitools
- 4 – I want to introduce you to the different match levels that Applitools has and the concept of viewport sizes
- 5 – I will be talking about checkpoints.
- 6 – I will be looking at how we can organize our visual tests using batches
- 7 – We will look at how we can analyze our test results using the Test Manager.
- 8 – We will be looking at the integration and collaborations that Applitools provides.
Each of these chapters provides a methodical approach to getting going with Applitools. I’ll give a quick overview of each.
Chapter 1 – Why Visual Testing
If you read this review or take the course, you know why visual testing. Your UI and end-to-end tests result in rendered output. You can write all the functional tests that grab locators, enter data, effect action, and cause the appropriate output locators to have the appropriate values. But, until you actually look at the result, you cannot tell if the input and output conform to design and usability expectations.
Nyran did not explain the most frequently-experienced reason for visual testing – unintended consequences of code changes over time. Our experience shows us that most expected application changes get tested, but unintended changes cause problems.
Chapter 2 – Getting Started With Applitools
Nyran does a nice job explaining how to get started. You need an Applitools API key, which you can get from the Applitools console. Nyran explains why you set up a local environment variable for your API key (so you do not need to include your API key in your test code directly). He also points to the github repo he uses for all the examples in the course.
Chapter 3 – Create And Run A Visual Test with Applitools
Chapter 3 involves the first coding examples for setting up Applitools. With a simple:
npm install @applitools/eyes.webdriverio
You get the the node instructions for installing the Applitools Eyes to your WebdriverIO setup. After this you can install the Applitools Eyes service to your tests. He shows code examples of what test code looks like when calling Applitools:
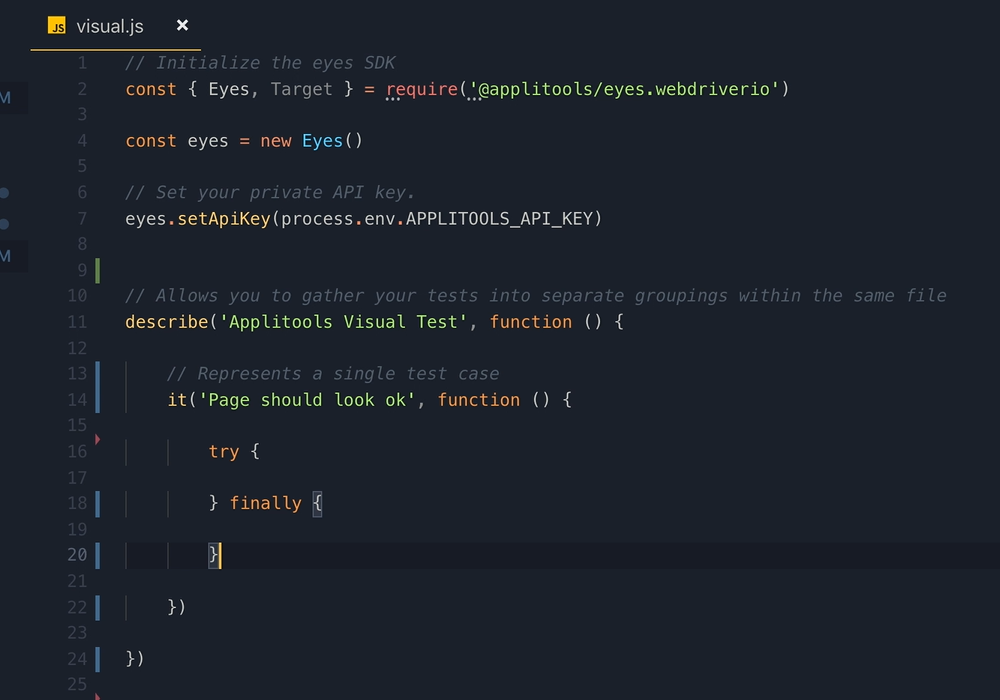
Once he walks you through a test page example and fills in the tests, he gets code that looks like a full test.
Finally, he shows you the Applitools UI and how it highlights differences found during a test. To do this, he shows a test site with the ability to show different content, and he shows how Applitools highlights the differences.
Nyran makes it clear that Applitools can find and highlight all the visual changes on a comparison page (the checkpoint) versus the original capture (the baseline). And, he explains that Applitools lets you accept the checkpoint as the new baseline, or reject it.
Chapter 4 – Viewports and Match Levels
Nyran breaks chapter 4 into two sections. In Section 4.1, Nyran goes through the idea of viewport sizes. If you build a responsive app, you want to run your app for 4K down to mobile device sizes. How do you validate the different device size views? Applitools makes it easy to add a JavaScript file that specifies all the viewport sizes you want to validate. Applitools runs all the captures for you.
Next, Nyran writes about match levels. Applitools default comparison level, called “strict”, compares visually noticeable changes between a checkpoint and baseline. Strict uses Applitools Visual AI to break items on a page into elements that it then compares.
However, sometimes strict is too strict. In “content” match level, Applitools checks text and structures but ignores color variations. This match level helps when you apply a global change to color and want to ensure that – color outstanding – no other changes have taken place. And, if they have, you want those changes highlighted quickly.
In “layout” match level, Nyran shows, Applitools lets you validate pages that have dynamic content sharing a common structure. For example, you might have a retail shoppping page that shows user-specific and hot items updating from test run to test run. Or, you have a news site that updates top stories regularly. Layout match level pays attention to the layout structure (relationship of sections and text sizes) without comparing the specific contents of any set of elements within that structure.
Chapter 5 – Checkpoints
Nyran spends this chapter reviewing the ways Applitools lets you make visual captures. First, ou can capture the visible page – the current viisble screen. Alternatively, you can capture the full page. Applitools runs through the app horizontally and vertically and stitches the images into a single screen baseline and checkpoint.
Next, you can capture individual web elements. Finally, you can capture frames on a page. Your flexibility in setting checkpoints gives you plenty of power to control the details of your inspection at different times in your testing life cycle.
Chapter 6 – Batches
Batches provide a way of organizing common tests inside the Applitools Test Manager. Nyran explains how to code tests into batches. He also shows how batched tests get grouped inside the Test Manager. When you use batches, your test results become easier to interpret.
Nyran implies two things about batches. First, grouping tests into batches make your testing much easier to understand. Second, If you want the benefit of batches, you need to code those batch definitions yourself.
Chapter 7 – Using the Test Manager
The Test Manager is the Applitools service user interface. Your user login provides you an API key, and tests run under your API key collect in your view in Test Manager.
Nyran shows you the basics, as well as some cool tricks in the Test Manager. He shows you how to compare differences between the checkpoint and the baseline. You can approve expected changes and update the baseline to the checkpoint. Or, you can reject changes and have them routed back to development as bugs.
Next, Nyran shows you how tests get grouped and how to use statistics. He also shows you how to override the existing match level on all or part of a test. Finally, he shows you Automated Test Maintenance.
Automated Test Maintenance gives you huge powers of scale for validating changes to your application. When you find a change in one checkpoint and approve it as a valid change, Applitools finds all other similar changes and gives you the power to approve those identical changes at the same time. For example – you change your menu bar at the top of your app, and the change affects 145 pages. Following your validation of a change on one page, Applitools asks you if you want to approve the other 144 pages with the identical change. That’s powerful.
Chapter 8 – Integrations
In the last chapter, Nyran shows how Applitools integrates with other tools in development – especially your CICD workflows.
Nyran shows the range of Applitools test framework and language SDKs that work on web and mobile test frameworks. Applitools lets you capture screenshots to use Visual AI if you use an unsupported framework. Applitools even lets you compare PDFs to ensure that your document generators behave correctly even as you update your application.
Next, you see how to link Applitools with Jira. You can link issues found in Applitools with incidents in Jira. Also, you can link GitHub and Applitools to tie your image comparisons to the source code GitHub pull requests. Finally, you see the standard approach to having Applitools link with your favorite CICD workflow manager.
Conclusion
Nyran wrote a nice course on how to use Applitools for automated visual testing. He makes clear that he used WebdriverIO and JavaScript because he knew these well. However, he knows the range of choices available to you.
Nyran really doesn’t cover:
- Setting up tests in WebdriverIO,
- Approaches for running and managing tests and test results
- Managing WebdriverIO in your CICD workflow
You can find other courses to address these issues.I enjoyed taking Nyran’s course. Having taken other JavaScript testing courses, I think Nyran provides good examples of Applitools. He wants you to know how to get the most out of Applitools when you use WebdriveriO.
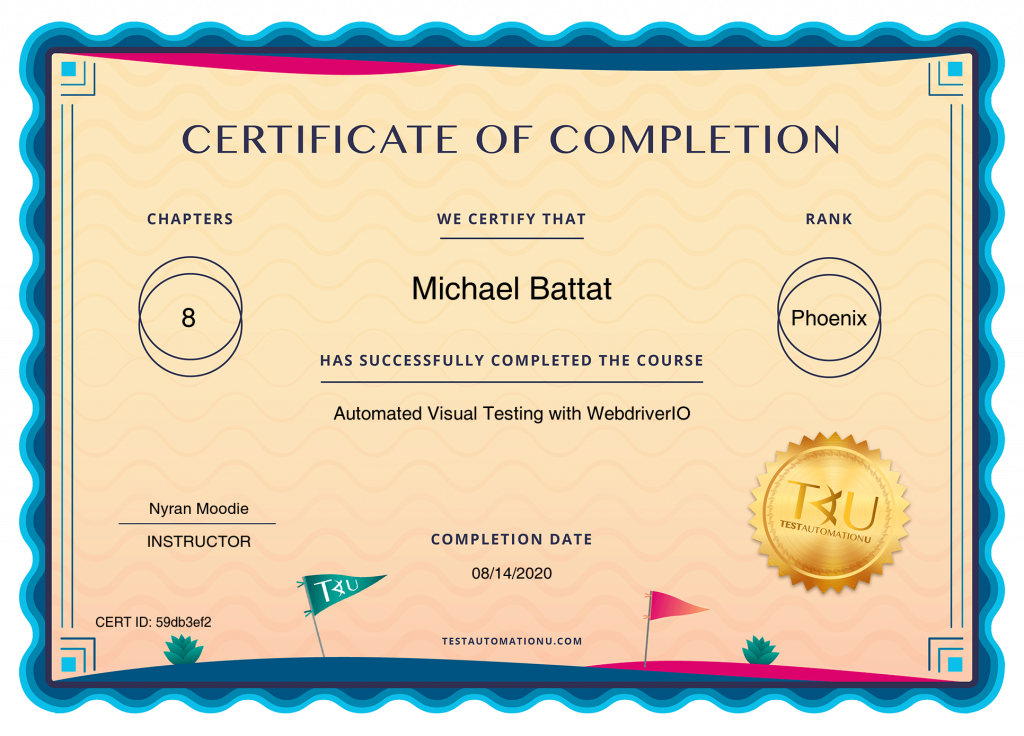
As always, I include my certificate of completion from Test Automation University:
For More Information
- Visual Testing – FAQ
- Visual Testing: The Missing Piece of the Puzzle – with Gil Tayar
- 20 Highly Qualified Test Automation Superstars
- How Do You Simplify End-To-End Test Maintenance?
- Five Data-Driven Reasons To Add Visual AI To Your End-To-End Tests
- Sign up for a free Applitools account
- Request an Applitools demo